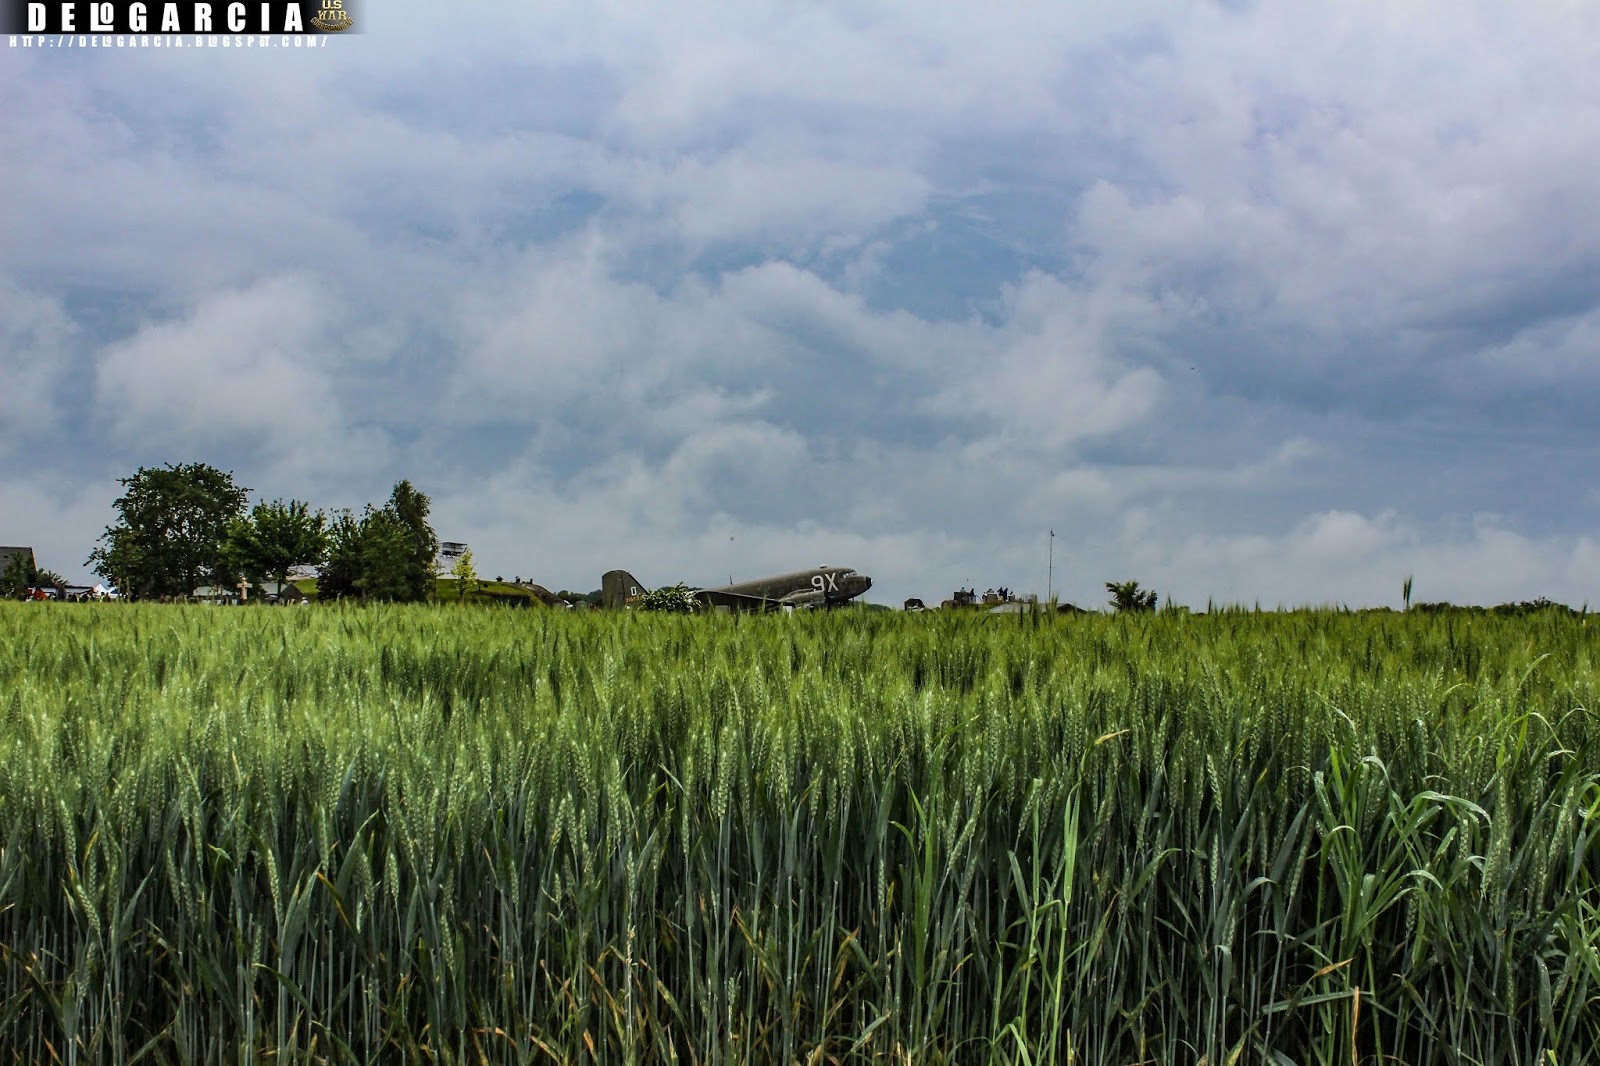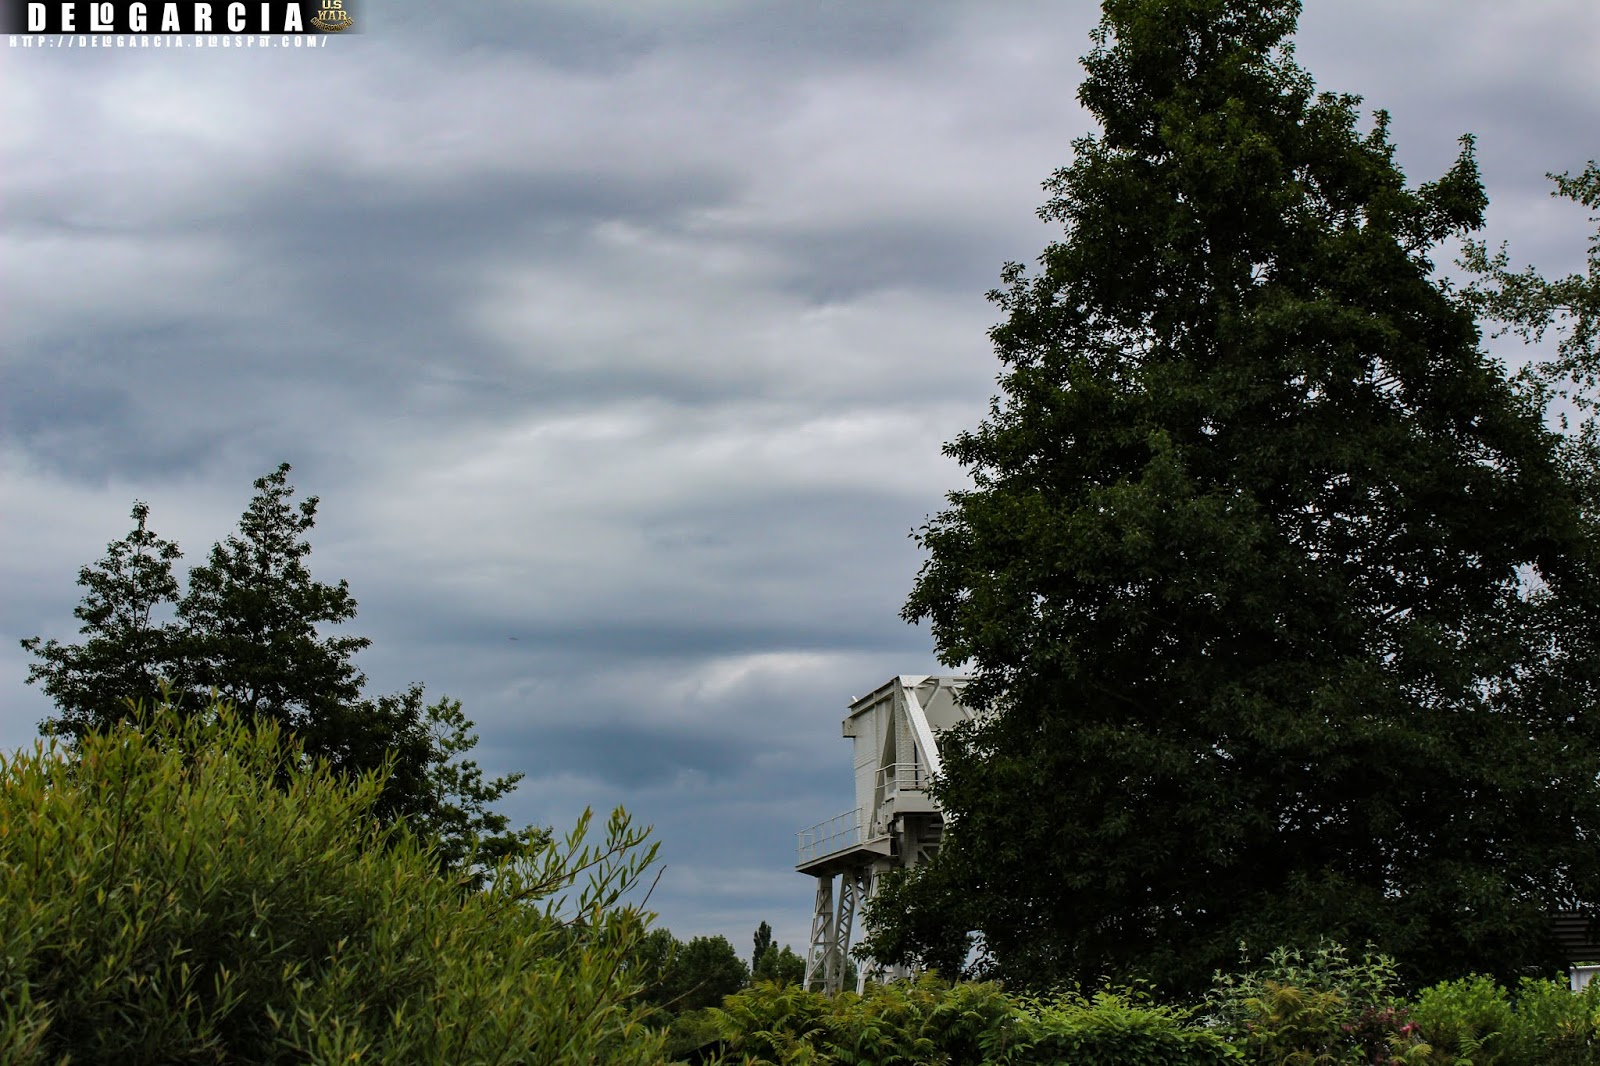
The Battle of Merville Gun Battery occurred on 6 June 1944, as part of Operation Tonga, part of the Normandy landings, during the Second World War. Allied intelligence believed the Merville Gun Battery was composed of heavy-calibre guns that could threaten the British landings at Sword Beach, only 8 miles (13 km) away.
The 9th Parachute Battalion, part of the 3rd Parachute Brigade attached to 6th Airborne Division, was given the objective of destroying the battery. However, when the battalion arrived over Normandy, their parachute descent was dispersed over a large area, so instead of over 600 men, only 150 with no heavy weapons or equipment arrived at the battalion assembly point. Regardless, they pressed home their attack and succeeded in capturing the battery, only to discover that the guns were of a lower caliber than expected [Czech-manufacture 100mm]. However, these still had the range (over 8000 metres) to hit targets on Sword and in Ouistreham. Using what explosives they had been able to recover, the surviving 75 men tried to disable the guns.
When the British paratroopers had withdrawn, two of the guns were put back into action by the Germans. Another attack the next day by British Commandos failed to recapture the battery, which remained under German control until 17 August, when the German Army started to withdraw from the area.
On 6 June 1944, the British 6th Airborne Division was given the task of securing the left flank of the Allied seaborne landings. One of their objectives was the destruction of the Merville Gun Battery. Allied planners had judged from the size of the concrete gun emplacements that the guns must be around 150 mm in calibre. If so, the guns would have a range of about 8 miles (13 km). At this distance, they could threaten the 3rd British Infantry Division's landing area, codenamed Sword, to the west of Ouistreham, where were due to land later that day.[1]
British forces[edit]
The unit assigned to destroy the battery was the 9th Parachute Battalion, part of the 3rd Parachute Brigade, commanded by Lieutenant Colonel Terence Otway. The battalion's normal complement of 600 men[2][nb 1] was supported by a section of sappers from the Royal Engineers, eight Airspeed Horsa glider loads transporting Jeeps and trailers, and stores including explosives, an anti-tank gun and flamethrowers. Three of the gliders, transporting 50 volunteers, were to carry out a coup de main landing onto the position to coincide with the ground assault.[4] In April 1944, the force was taken to Walbury Hill in Berkshire, where over seven days the Royal Engineers had built a full-scale replica of the battery, including obstacles and barbed wire fences. The following five days were spent holding briefings and getting acquainted with the layout of the battery. They carried out nine practice assaults, four of them at night.[3][5] Due to the nature of the mission, the battalion was given additional medical support from No. 3 Section 224th (Parachute) Field Ambulance.[6][nb 2] Another unit that would be present during the attack but not directly involved was A Company of the 1st Canadian Parachute Battalion. This company was tasked to provide covering fire for the 9th Battalion's approach to and withdrawal from the battery.[9]
The assault had to be completed and the battalion clear of the position by 05:00, when the Royal Navy cruiser HMS Arethusa would open fire on the battery in an attempt to destroy it with naval gunfire.[10]
Battery[edit]
.JPG)
The Merville Battery was composed of four 6-foot-thick (1.8 m) steel-reinforced concrete gun casemates, built by the Todt Organisation. Each was designed to protect First World War-vintage Czech M.14/19 100 mm guns.[11] Other buildings on the site included a command bunker, a building to accommodate the men, and ammunition magazines. During a visit on 6 March 1944, to inspect the defences, Field Marshal Erwin Rommel ordered the builders to work faster, and by May 1944, the last two casemates were completed.[12]
The battery was defended by a 20 mm anti-aircraft gun and several machine guns in 15 gun positions, all enclosed in an area 700 by 500 yards (640 by 460 m) surrounded by two barbed wire obstacles 15 feet (4.6 m) thick by 5 feet (1.5 m) high,[4] which also acted as the exterior border for a 100-yard-deep (91 m) minefield. Another obstacle was an anti-tank ditch covering any approach from the nearby coast.[13] The original commander of the battery, Hauptmann Wolter, was killed during a Royal Air Force bombing raid on 19 May 1944. He was replaced by Oberleutnant Raimund Steiner, who commanded 50 engineers and 80 artillerymen from the 1st Battery, Artillery Regiment 1716, part of the 716th Static Infantry Division.[12][14]
Assault[edit]
Just after midnight on 6 June, the 9th Parachute Battalion's advance party landed with the brigade's pathfinders, and reached the battalion assembly area without any problems. While some men remained to mark out the company positions, the battalion's second in command, Major George Smith, and a reconnaissance party left to scout the battery.[15] At the same time, Royal Air Force Lancaster bombers started their bombing run, which completely missed the battery, their bombs landing further to the south. The pathfinders in the meantime were having problems. Those who had arrived at the correct drop zone found their Eureka beacons had been damaged when they landed, and in the smoke and debris left over from the bombing, their marker lights could not be seen by the pilots of the transport aircraft.[15] The main body of the 9th Parachute Battalion and their gliders were to land at drop zone 'V', located between the battery and Varaville from 01:00.[13] However, the battalion was scattered, with a number of paratroopers landing a considerable distance from the designated drop zone. Lieutenant Colonel Otway landed with the rest of his "stick" 400 yards (370 m) away from the drop zone at a farmhouse being used as a command post by a German battalion; after a brief fire-fight, they helped other scattered paratroopers, and reached the drop zone at 01:30.[16] By 02:50, only 150 men had arrived at the battalion's assembly point with 20 Bangalore torpedoes and a machine gun. The mortars, anti-tank gun, mine detectors, jeeps, sappers and field ambulance section were all missing.[3]

Aware of the time constraints, Otway decided he could wait no longer, and the reduced battalion headed for the battery and joined up with Major Smith's reconnaissance party just outside the village of Gonneville en Auge. The reconnaissance party had cut a way through the barbed wire, and marked four routes through the minefield.[15] Otway divided his men into four assault groups, and settled down to await the arrival of the three gliders.[17]
In England, one of the gliders landed at RAF Odiham as its tow rope had snapped during bad weather. The other two gliders, unable to locate the battery, did not land where expected.[18] On their run in, both gliders were hit by anti-aircraft fire. One landed around 2 miles (3.2 km) away, the other at the edge of the minefield. The troops from this glider became involved in a fire fight with German troops heading to reinforce the battery garrison.[17]
Otway launched the assault as soon as the first glider overshot the battery, ordering the explosives to be detonated to form two paths through the outer perimeter through which the paratroopers attacked. The defenders were alerted by the explosions, and opened fire, inflicting heavy casualties; only four attackers survived to reach Casemate Four, which they disabled by firing into apertures and throwing grenades into air vents. The other casemates were cleared with fragmentation and white phosphorus grenades, as the crews had neglected to lock the doors leading into the battery.[19] During the bombing raid, the battery's guns had been moved inside the casemates and the steel doors left open for ventilation.[20] During the battle, 22 Germans were killed and a similar number made prisoners of war. The rest of the garrison escaped undetected by hiding in the underground bunkers.[17]
Steiner was not present during the bombing, but at a command bunker in Franceville-Plage. After the raid, he set out for the battery, but was unable to gain entry due to the volume of fire from the British paratroopers. At the same time, a reconnaissance patrol from an army Flak unit with a half-track mounting a large anti-aircraft gun arrived. The crew had intended to seek cover at the position, but instead used the gun to engage the paratroopers.[21]
With the battery in their hands, but no sappers or explosives, the British gathered together what plastic explosives they had been issued for use with their Gammon bombs to try to destroy the guns.[17] By this time, Steiner had returned to Franceville-Plage, and directed his regiment's 2nd and 3rd Batteries to fire onto the Merville Battery.[22]
Just before 05:00, the battalion's survivors, just 75 men of the 150 who had set out, left the battery and headed for their secondary objective, the village of La Plein[clarification needed].[23] The battalion, being too weak, only managed to liberate around half of the village, and had to await the arrival of the 1st Commando Brigade later in the day to complete its capture.[24]
After the British had withdrawn, the Germans reoccupied the battery position. Steiner was unable to see Sword from his command bunker, so even though he was able to get two of his guns back in action, he was unable to direct accurate fire onto the landings. However, observers with the 736th Infantry Regiment, holding out at La Brèche, were able to direct his guns until that position was neutralised.[25]
On 7 June, the battery was assaulted again by two troops of commandos from No. 3 Commando, part of the 1st Special Service Brigade. The attack in daylight was repulsed with heavy losses to the commandos. As they withdrew, they were engaged by the battery's guns firing over open sights. The British never succeeded in completely destroying the battery, and it remained under German control until 17 August, when the German Army started to withdraw from France.[26]
FUENTE WIKIPEDIA.